6.7. Using the Samba Druid
This section describes how to use the Samba Druid to quickly configure an Samba share for client access.
Start the Cluster Status Tool. Verify that the cluster daemons are running; if not, choose Cluster => Start Cluster Service to start the cluster daemons.
In the Cluster Status Tool, choose Cluster => Configure to display the Cluster Configuration Tool.
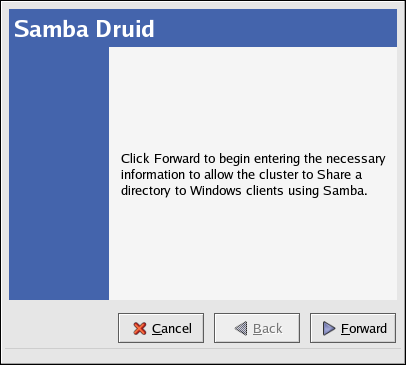
Start the Samba Druid by choosing Add Exports => Samba... and click Forward to continue.
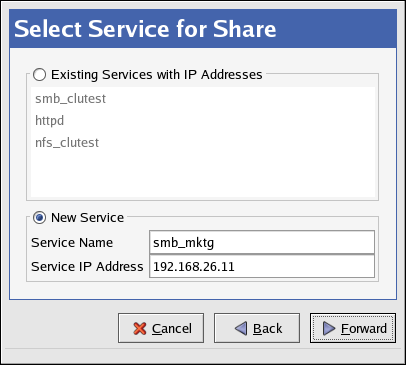
Choose to create a new service with a new floating IP address.
Enter a Service Name — A name used to uniquely identify this service within the cluster.
Enter a Service IP Address — Clients access file shares from a server as designated by its IP address (or associated hostname). To abstract clients from knowing which specific cluster member is the acting Samba server, the client systems should not use the cluster member's hostname as the IP address by which a service is accessed. Rather, clustered Samba services are assigned floating IP addresses which are distinct from the cluster server's IP addresses. This floating IP address is then configured on which ever cluster member is actively serving the share. Following this approach, the clients are only aware of the floating IP address and are unaware of the fact that clustered Samba services have been deployed.
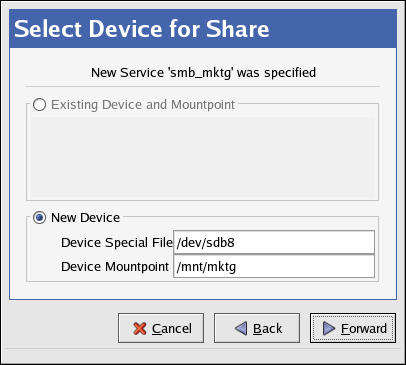
Enter the device special filename and mount point for the service.
Mount information — For non-clustered file systems, the mount information is typically placed in /etc/fstab. In contrast, clustered file systems must not be placed in /etc/fstab. This is necessary to ensure that only one cluster member at a time has the file system mounted. Failure to do so will result in file system corruption and potential system crashes.
Device Special File — The mount information designates the disk's device special file and the directory on which the file system will be mounted.
Device Mount point — A Samba service can include more than one file system mount. In this manner, the file systems will be grouped together as a single failover unit.
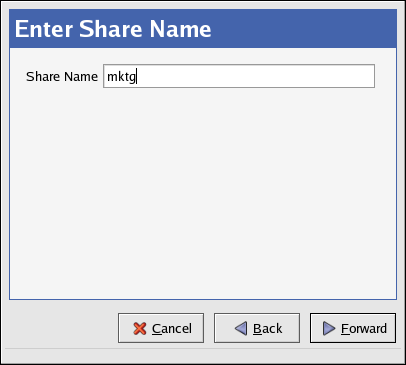
Enter a Share Name — Specifies the name by which clients refer to the mount point. Based on the name you specify, a corresponding /etc/samba/smb.conf.sharename file and lock directory /var/cache/samba/sharename will be created. By convention the actual Windows share name specified within the smb.conf.sharename will be set in accordance with this parameter. In practice, you can designate more than one Samba share within an individual smb.conf.sharename file. There can be at most one samba configuration specified per service, which must be specified with the first device. For example, if you have multiple disk devices (and corresponding file system mounts) within a single service, then specify a single sharename for the service. Then within the /etc/samba/smb.conf.sharename file, designate multiple individual Samba shares to share directories from the multiple devices. To disable Samba sharing of a service, the share name should be set to None.
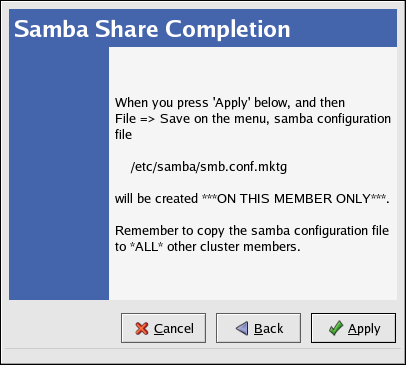
Click Apply to save the configurationg file (/etc/samba/smb.conf.sharename) to the cluster member.
Save the configuration for the Samba service by choosing File => Save from the Cluster Configuration Tool.
Copy /etc/samba/smb.conf.sharename over to the other cluster members.
To modify your Samba service configuration, click the
Services tab in the
Cluster Configuration Tool and click the triangular
icon  next to the Samba service to display the full
child tree for the service. Double-click each child to modify
options.
Highlight the <service> and click Properties to configure the following options:
Service Name — A name used to uniquely identify this service within the cluster.
Failover Domain — Defines which systems are eligible to be the Samba server for this service when more than one cluster member is operational.
Check Interval — Specifies how often (in seconds) the cluster subsystem should verify that the Samba daemons (smbd and nmbd) associated with this service are running. In the event that either of these daemons have unexpectedly exited, they will be automatically restarted to resume services. If a value of 0 is specified, then no monitoring will be performed. For example, designating an interval of 90 seconds will result in monitoring at that interval.
For the User Script, leave the field as None, as the cluster infrastructure handles NFS service control and status checking.
Choose the <service ip address> child to change the Service IP Address and to enter a Netmask and Broadcast address, which are both set as None by default. If these fields are left as None, then the cluster infrastructure will use the netmask and broadcast IP address configured on the network device of the member running the service.
Choose the <device> child to modify the Device Special File and Samba Share Name, Mount Point, FS Type, and Mount Options.
You can also check or uncheck the Force Unmount button. As part of the mount information, you can specify whether forced unmount should be enabled or not. When forced unmount is enabled, if any applications running on the cluster server have the designated file system mounted when the service is being disabled or relocated, then that application will be killed to allow the unmount to proceed.
6.7.1. Samba Considerations
When running the Cluster Configuration Tool to configure Samba services:
Correctly enter the service parameters, as the validation logic associated with Samba parameters is not robust.
After configuring a Samba service via the Cluster Configuration Tool, remember to tune the /etc/samba/smb.conf.sharename file for each service in accordance with the clients and authorization scheme you desire.
Remember to copy the smb.conf.sharename file over to other cluster members.
Note that the cluster infrastructure creates Samba lock directories when it starts the service.
If you delete a Samba service, the Cluster Configuration Tool automatically deletes this file to preserve your site-specific configuration parameters for possible later use.
